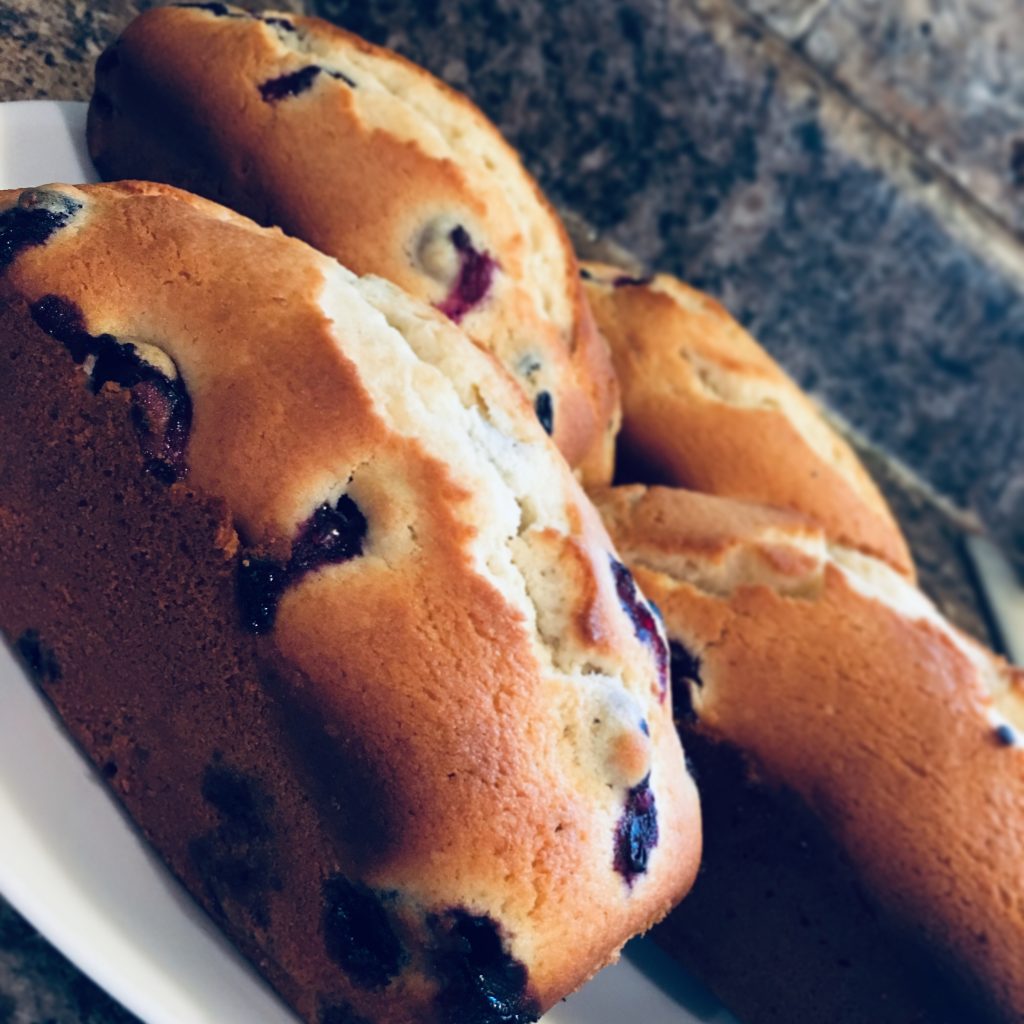
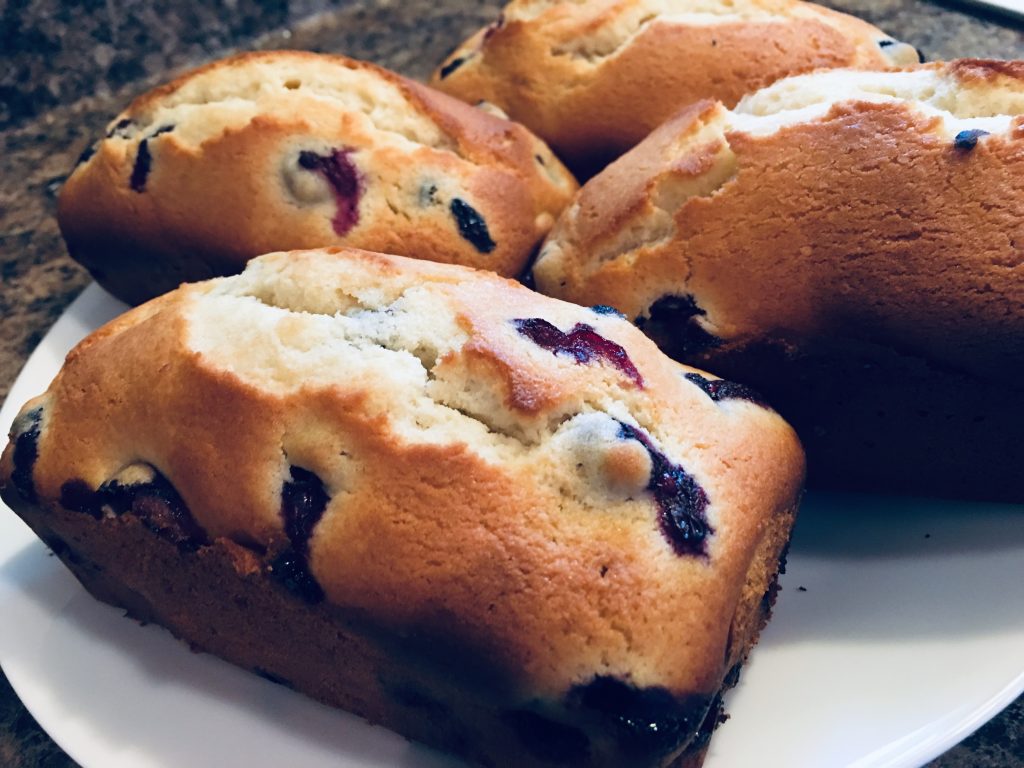
Lemon Blueberry Bread
For a while now I have had a craving for lemons and blueberries. I tried the combo once before and it was an epic fail so I needed to make it right. I tried searching Whole30 recipes and Paleo but I wanted wasn’t finding exactly what I was looking for. So I did what any rational person would do, took ideas from a bunch of recipes and I winged it. And wouldn’t you know, it was not an epic failure this time!
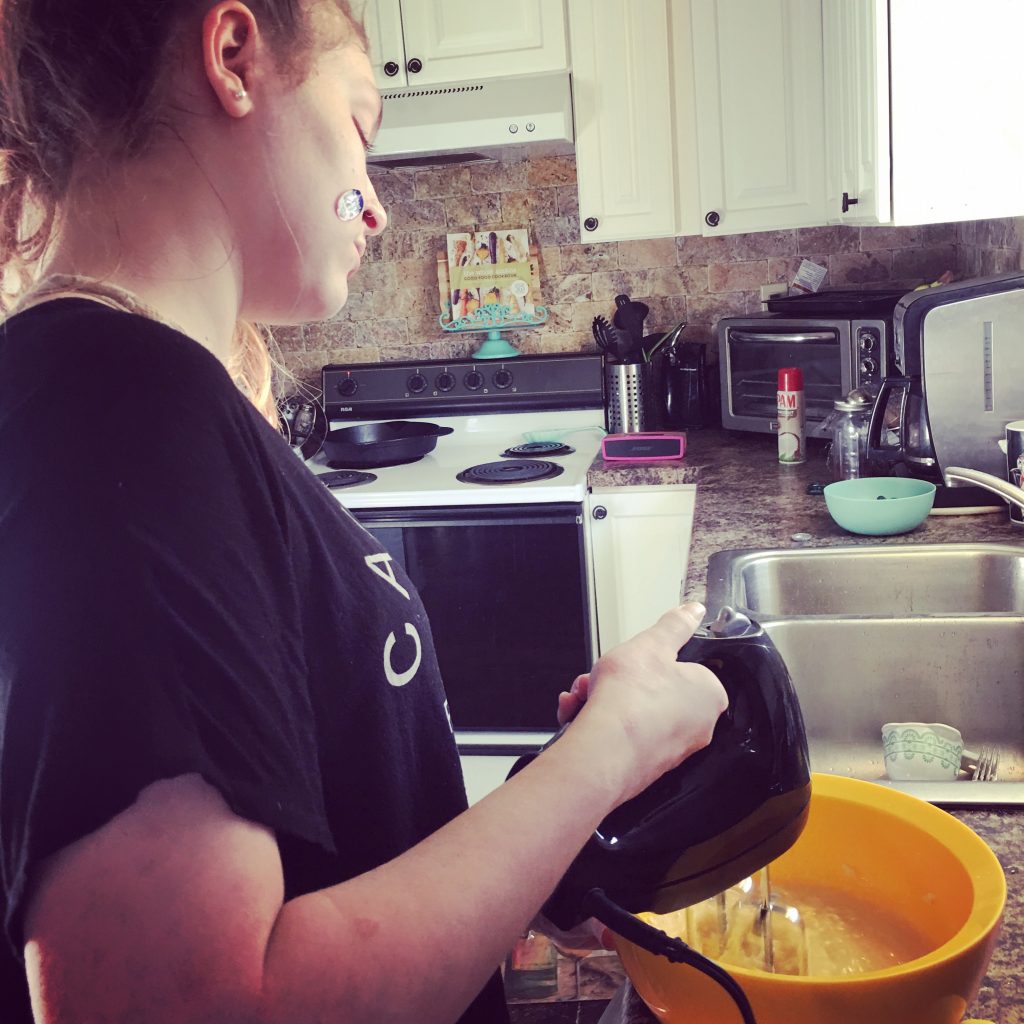
Thankfully I have the best sous chef around to help me out and have fun in the kitchen with me (note the banana sticker on her cheek). She’s also loves to try new things and is a fabulous taste tester.
Lemon Blueberry Bread
2019-04-01 01:36:14
Cook Time
30 min
Ingredients
- 2 cups all purpose flour
- 1 1/2 teaspoons baking powder
- 1/2 teaspoon salt
- 1 tablespoon lemon zest
- 1 cup sugar
- 1 stick of unsalted butter, softened
- 2 large eggs
- 2 teaspoons vanilla extract
- 1/2 cup whole milk
- 1 1/2 cups fresh blueberries
Instructions
- Preheat oven to 350 degrees
- Spray four mini loaf pans with non stick cooking spray
- In a small bowl mix the flour, baking powder and salt and set aside
- In a large mixing bowl combine the sugar and lemon zest, then add in the butter and beat until it's nice and fluffy
- Add eggs, vanilla and milk into the mixture
- Slowly add the flour mixture and mix until it is all combined
- Fold in the blueberries.
- Spread batter evenly into the prepared pans
- Bake for 30 minutes
Shanamama http://www.shanamama.com/wp/


شركة تنظيف خزانات في العين • November 6, 2022
شركة تنظيف خزانات في العين
شركة عزل اسطح بمكة • November 19, 2022
شركة عزل اسطح بمكة